
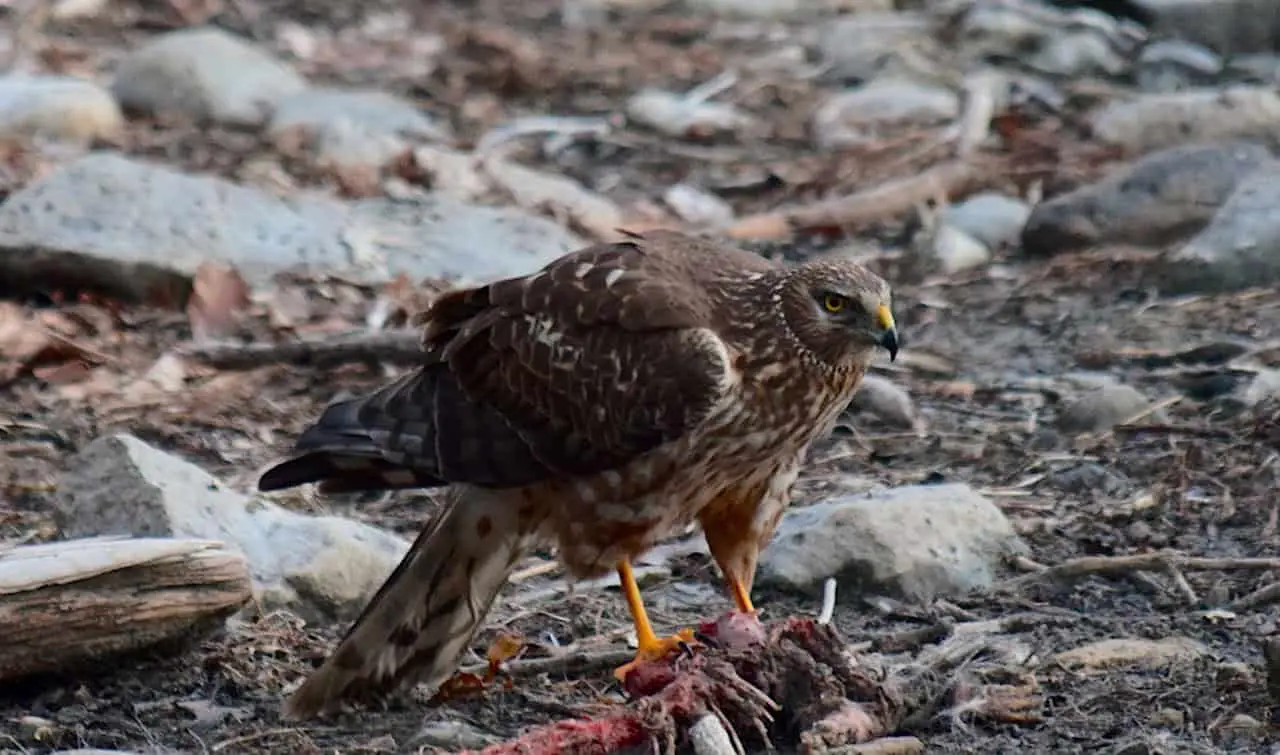
Creance training is fundamental to falconry, especially when working with red-tailed hawks. This method involves using a long, lightweight line known as a creance, which allows the bird to fly while still under the control of the falconer. Through consistent training sessions, the hawk gradually gains confidence in its abilities and the relationship with its human partner, but there are tricks and methods to ensure success. Throughout this post, I will highlight how you can do this.
What is creance training?
Creance training is a fundamental technique used in falconry to accustom a bird of prey to flying and returning on a long line. The benefits of creance training are immense. It allows the bird, in my case, a Red-Tailed Hawk, to gain strength and stamina while learning to respond to commands. The techniques involved in creance training are intricate yet rewarding. By gradually increasing the distance the bird can fly on the long line, it learns to navigate its surroundings and build confidence in its flying abilities.
One advantage of creance training is the ability to ensure the bird’s safety while still allowing it the freedom to fly and explore. However, creance training also comes with its challenges. Patience is key, as progress can be slow, and setbacks are common. Despite the challenges, the rewards of seeing your bird master the art of flight and return to your glove are truly unparalleled.
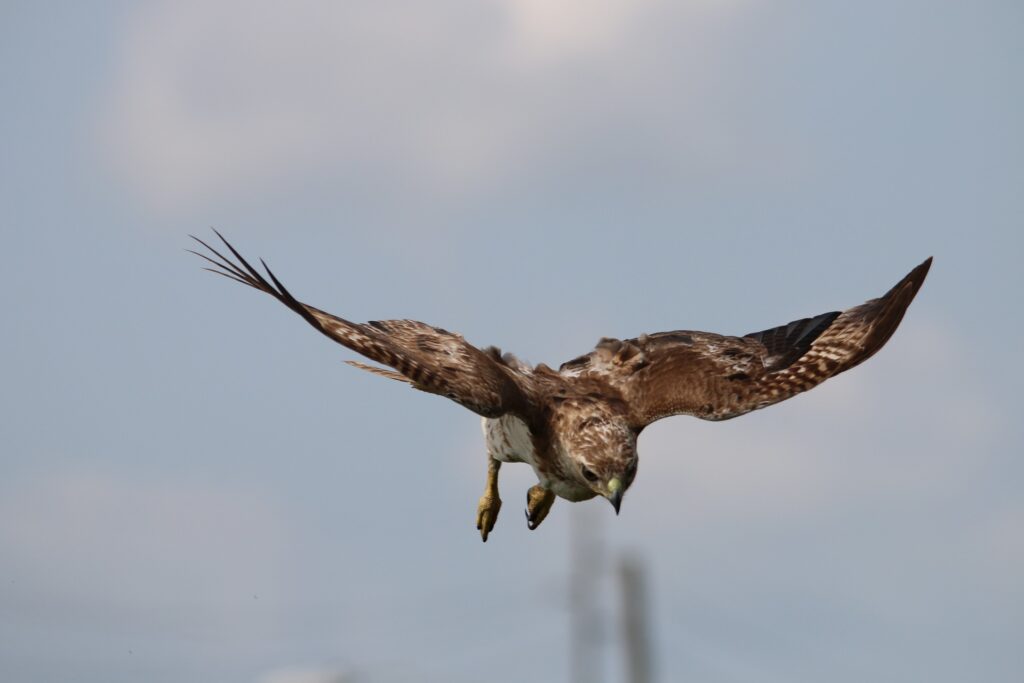
Setting Up for Creance Training
Preparing the ideal training environment is crucial for the successful execution of creance training with a Red-Tailed Hawk. Understanding hawk behavior is essential; observing your hawk’s reactions to different stimuli is vital before setting up. Training techniques play a significant role in this preparation. Familiarize yourself with positive reinforcement methods to encourage desired behaviors during training sessions.
When setting up, consider weather conditions carefully. Hawks are sensitive to extreme temperatures and adverse weather. Choose a calm day with moderate temperatures for optimal training conditions. Controlling the distance between you and the hawk is crucial. Start with shorter distances and gradually increase the length of the creance line as your hawk becomes more comfortable.
Lastly, honing your handling skills is key. Practice safe and secure methods of holding the creance line while allowing the hawk to fly and maneuver freely. By paying attention to these details and adapting to your hawk’s responses, you can create an effective training environment that sets the stage for successful creance training.
Step by Step on How to Perform Creance Training with a Red-Tailed Hawk
Step 1: Gather the Necessary Equipment
Before beginning creance training, ensure you have all the necessary gear. You’ll need a creance, which is a long, lightweight, and strong line, typically 50 to 100 feet long. Additionally, have a secure swivel, a comfortable anklet for the hawk, leather gloves for hand protection, a whistle, and a lure or food reward.
Step 2: Choose an Appropriate Training Area
Select a safe, open space free from obstructions such as trees and power lines. This area should be quiet to avoid overwhelming the hawk with distractions. A calm environment helps the hawk focus on the training process.
Step 3: Attach the Creance
Securely attach the creance to the hawk’s anklet using a swivel to prevent tangling. Ensure the attachment is strong enough to withstand the hawk’s flight but comfortable enough not to cause injury. Double-check all connections before proceeding.
Step 4: Initial Stationary Training
Begin by holding the hawk on your gloved fist. Allow the bird to acclimate to the feel of the creance attached to its leg. Use treats to reward the hawk, creating positive associations with the equipment. The goal is to ensure the bird is calm and comfortable before any flight attempts.
Step 5: Short-Distance Flights
Start with short-distance flights of about 10 feet. Hold the hawk in one location and place the lure in another. Gently encourage the hawk to fly to the lure. Use a whistle or a specific command consistently during this phase. Reward the hawk with food upon successful completion of each flight.
Step 6: Gradually Increase Distance
Increase the distance incrementally, allowing the hawk to build strength and confidence. Extend the flights by 10 feet at a time, up to the full length of the creance. Ensure each step is reinforced with positive rewards. This progressive approach helps the hawk to gain trust and understand the expectation of returning.
Step 7: Introduce Recall Commands
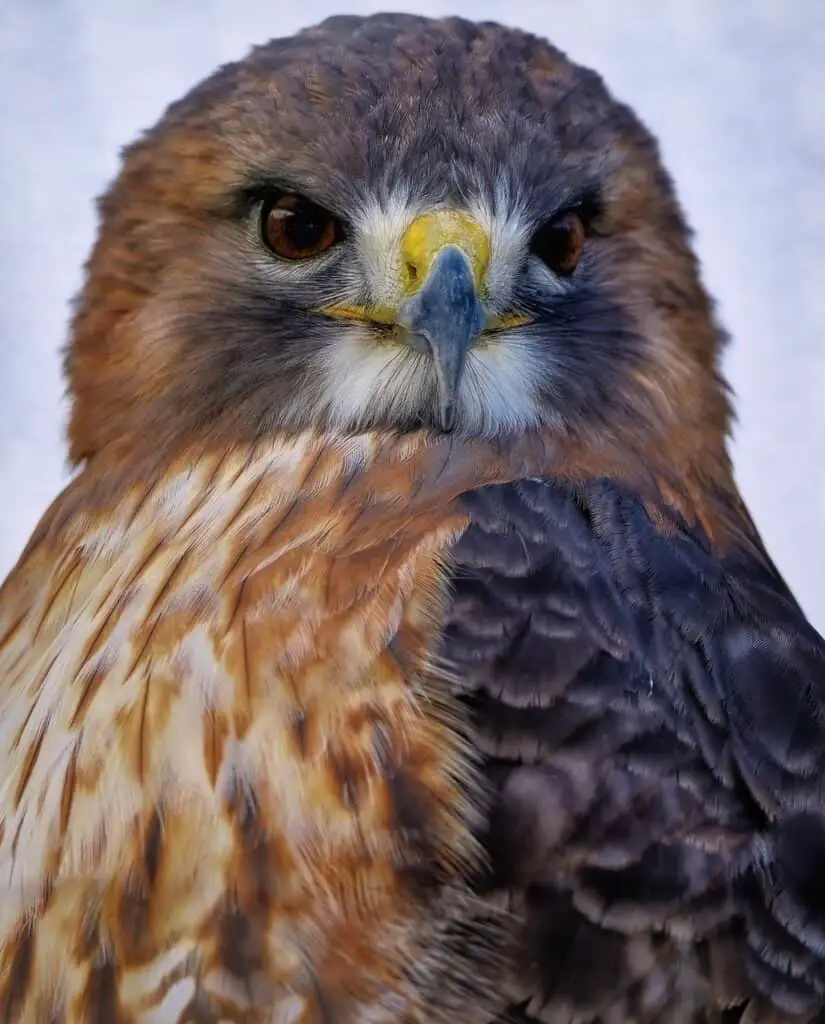
Once the hawk is confidently flying to the lure at increasingly longer distances, start incorporating recall commands. Use the whistle or verbal cue to signal the bird to return to you. Initially, do this from short distances, rewarding the hawk each time it returns to your glove. Gradually increase the recall distance as the hawk becomes more responsive.
Step 8: Practice Consistently
Consistency is crucial in creance training. Regular and frequent training sessions help solidify the hawk’s understanding and responsiveness. Avoid long gaps between training to prevent regression. Patience and persistence will yield the best results.
Step 9: Troubleshooting Setbacks
Be prepared for setbacks, as not all training sessions will be smooth. If the hawk appears nervous or disinterested, reduce the distance and simplify the tasks. Observe the bird closely for signs of fatigue or stress and adjust the training pace accordingly. Building a strong bond or trust takes time.
Step 10: Transition to Free Flight
Once the hawk consistently returns on command from the creance’s full length, you can transition to free flight. Gradually reduce the reliance on the creance, allowing the bird more freedom while ensuring it still responds to recall commands. Continue to reinforce with positive rewards.
Step 11: Monitor Progress
Keep detailed records of each training session, noting the distances flown, responsiveness to commands, and any challenges faced. Regularly review this information to adjust training strategies and continue advancing the hawk’s skills.
Equipment Needed for Creance Training
- Creance (50 to 100 feet in length)
- Swivel for secure attachment
- Anklet for the hawk
- Leather gloves for hand protection
- Whistle or verbal commands for recall signals
- Lure or food reward
- The open and safe training area
- Treats or food rewards
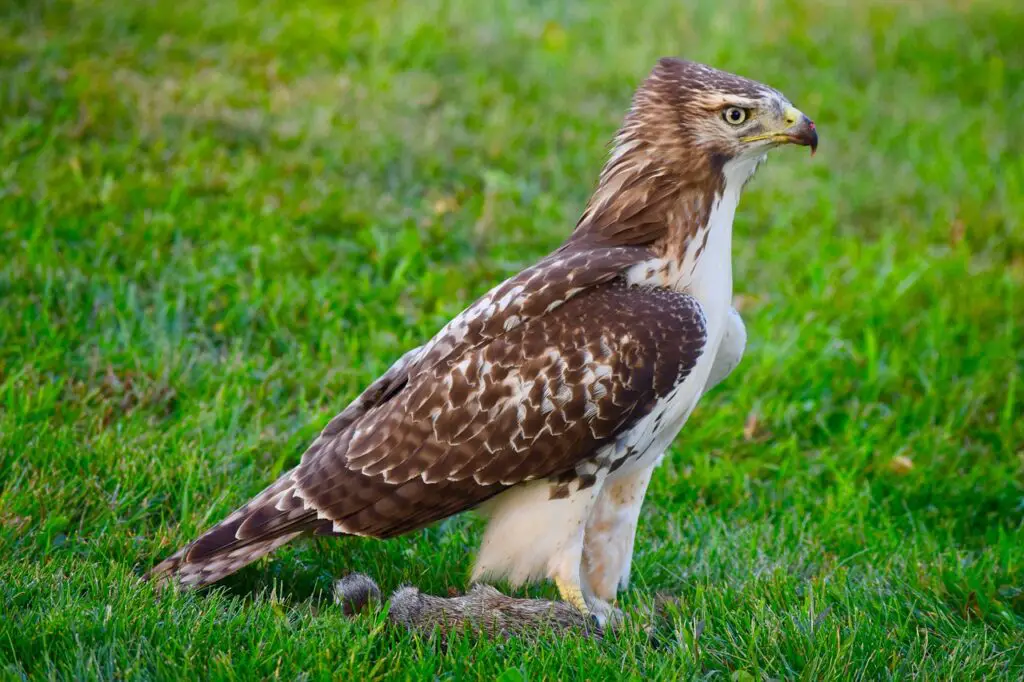
Creance training with a Red-Tailed Hawk is a fundamental step in falconry that requires patience, dedication, and a deep understanding of the bird’s behavior. By following a step-by-step approach, using the right equipment, and creating a safe environment for training, handlers can help their hawk develop essential skills and trust. Building a strong bond through positive reinforcement and consistent practice is key to a successful creance training experience with a Red-Tailed Hawk.
Frequently Asked Questions
Is Creance Training Suitable for All Ages of Hawk?
- Creance training can vary in its suitability for all ages of hawks. Factors like learning curve, adaptability, and safety measures impact effectiveness. Skill level, training techniques, proper equipment, and supervision are crucial for progress tracking.
How Long Does It Typically Take to See Results From Creance Training?
- Results from creance training vary based on bird behavior, handler experience, and consistency. Progress can be seen in weeks, but achieving milestones may take months. Patience, adaptability, and time commitment are essential for successful training.
Can Creance Training Be Done Indoors, or Is Outdoor Space Necessary?
- Indoor limitations are a concern in creance training. Adequate space is needed for this outdoor activity. If indoors, consider alternative methods like using larger rooms or gymnasiums.