
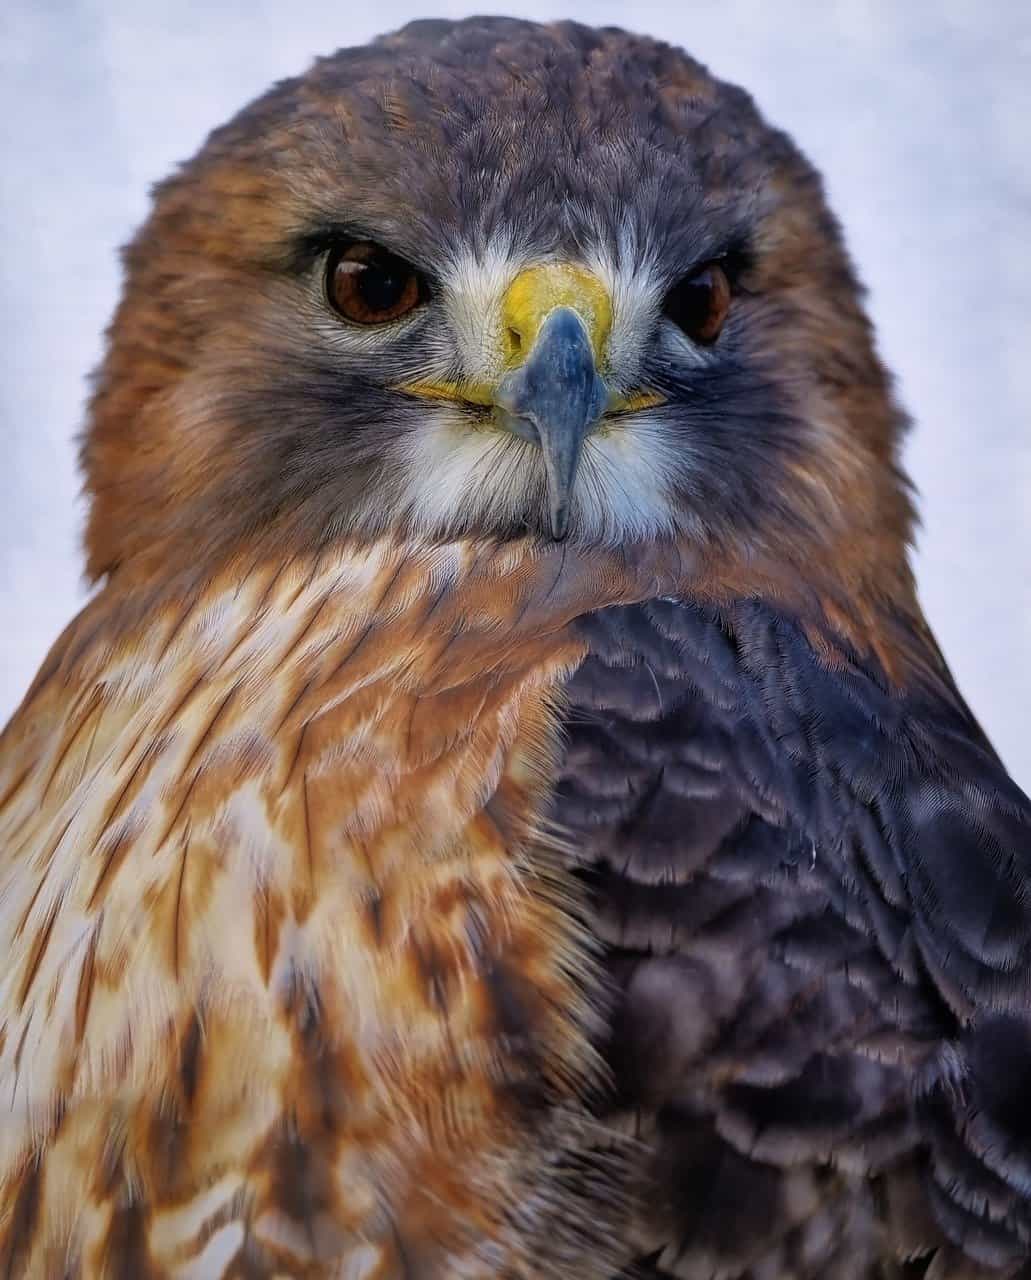
Embarking on training your red-tailed hawk to free-fly is a fascinating journey. Planning meticulously, starting with basic commands, and building trust through bonding are crucial steps. Equip yourself with jesses, a glove, a whistle, a lure, and a GPS tracker for safety and communication. Choose a spacious, safe outdoor setting, considering the weather and focusing on trust and recall commands. Free flight can be a nervous time for both you and your hawk, so proceed with caution and patience. Let me enlighten you with the content below on performing free flight and keeping safe.
What is Free Flight Training?
Free flight training is a method where trained birds of prey, such as red-tailed hawks, are allowed to fly freely and return to their handlers on command. Understanding bird behavior is crucial in this training. It involves recognizing their natural instincts, especially their hunting instincts. By studying these behaviors, trainers can tailor their training methods to suit the hawk’s natural tendencies. Bonding techniques play a significant role in free flight training. Establishing a strong bond of trust and respect between the bird and the handler is essential for successful training. This bond ensures that the hawk will willingly return to the handler during flight exercises.
Training red-tailed hawks for free flight involves a combination of patience, skill, and dedication. It is a rewarding experience that allows for a deep connection with these magnificent creatures. By incorporating proper bonding techniques and understanding the bird’s behavior, trainers can effectively guide their hawks through flight exercises, ultimately leading to a harmonious partnership between the bird and the handler.
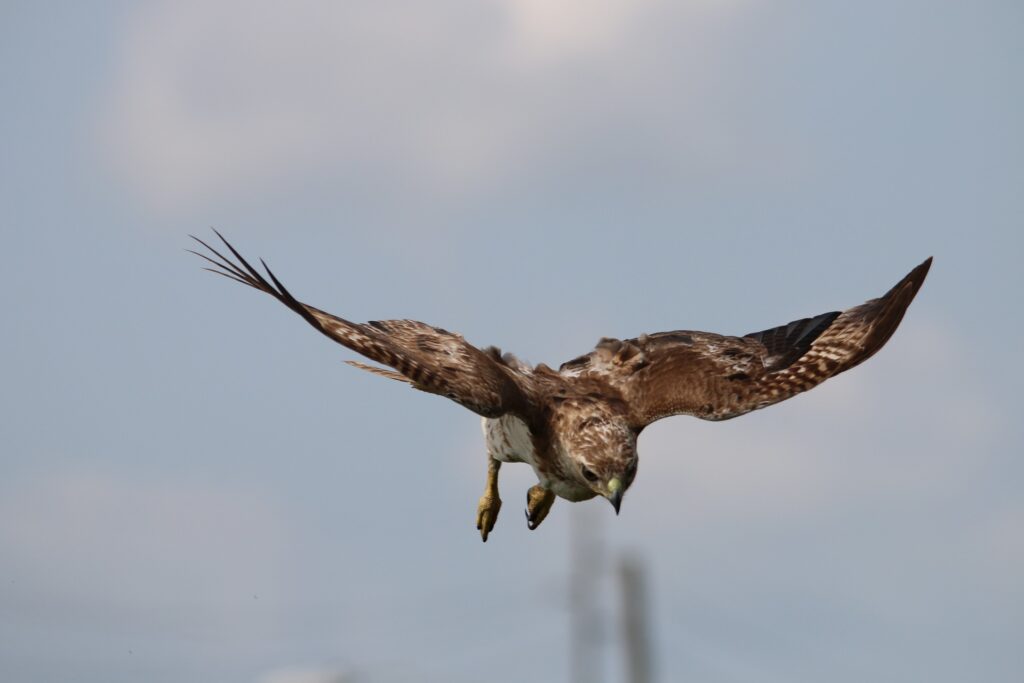
Setting Up for Free Flight Training
Before beginning free flight training, preparing the necessary equipment and setting up a suitable outdoor location for the exercises is crucial. The following are some essential tools that you will need:
- Jesses: These are leather straps attached to the hawk’s legs, allowing for control during flight.
- Glove: A thick leather glove used to hold the hawk in your hand. It should fit comfortably and securely.
- Whistle: This serves as a recall signal for the hawk during flight exercises.
- Lure: A piece of meat or feather attached to a line, used to lure the hawk back to you during training.
- GPS tracker: A small device that can be attached to the hawk’s jesses. It enables you to track your bird’s location and retrieve them if they fly too far.
Choose a large, open area with minimal distractions for the outdoor setting. Avoid areas near busy roads, airports, or power lines. The environment should also offer enough perches and trees for your hawk to rest on during training breaks.
Step by Step on How to Do Free Flight Training
Step 1: Establishing Trust and Bonding
- Imprint and Socialize: Start by spending ample time with your red-tailed hawk to build trust. Use gentle speaking, feeding by hand, and consistent interaction.
- Manning: This is the process of handling and introducing the hawk to various stimuli. Gradually accustom your hawk to different environments, sounds, and scenarios while ensuring they remain calm.
- Positive Reinforcement: Reward good behavior with food and gentle praise to reinforce trust and positive associations.
Step 2: Command Training on a Creance Line
- Introduce the Creance Line: Begin by attaching your hawk to a creance line, a long, lightweight cord that allows some freedom while maintaining control.
- Short Flights: Start with short flights between two handlers or between a perch and your glove, using a whistle to signal the start and end.
- Recall Commands: Train your hawk to fly to your glove on command, using the whistle and food rewards to encourage prompt responses.
Step 3: Gradual Increase of Distance
- Extend the Flight Distance: Gradually increase your hawk flies’ distance on the creance line, ensuring they respond to recall commands consistently.
- Reduce Food Rewards: Subtly reduce the frequency of food rewards to encourage reliable recall based on command rather than reward anticipation.
- Vary the Environment: Slowly expose your hawk to different areas and scenarios to ensure they adapt well to varied surroundings.
Step 4: Introducing Free Flight
- Initial Free Flights: Once your hawk consistently follows commands on the creance line, begin with short, supervised free flights in a safe, controlled environment.
- Use the Lure: Employ a lure to attract the hawk back during free flight, reinforcing recall commands.
- Monitor Closely: Keep a vigilant eye on your hawk during free flights, and be ready to intervene if they show signs of distraction or are straying too far.
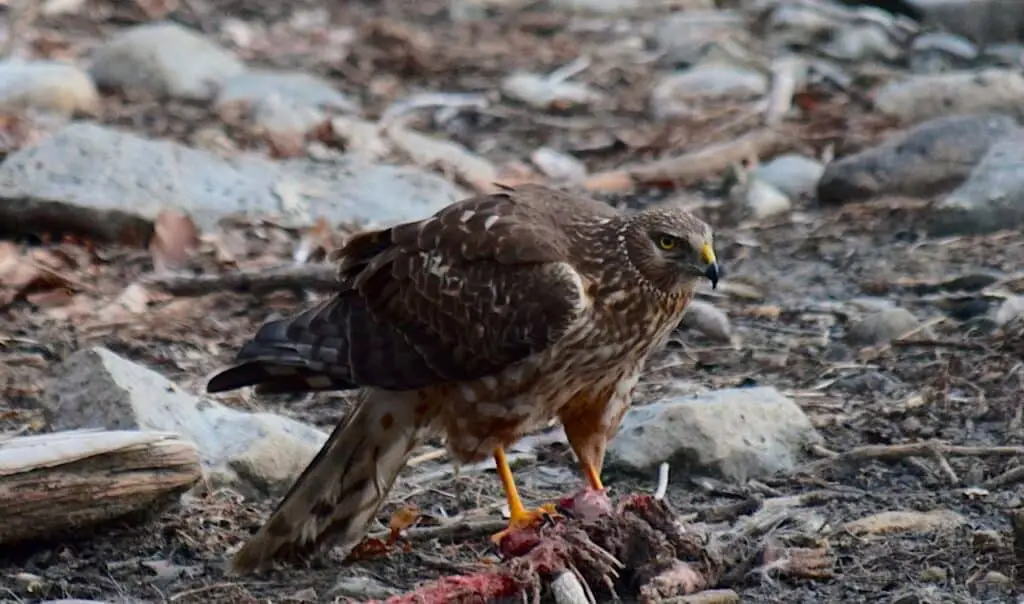
Step 5: Ensuring Safety
- Attach the GPS Tracker: Always use a GPS tracker to monitor your hawk’s location during free flights.
- Supervise Continuously: Never leave your hawk unsupervised during training sessions. Be prepared to step in if any risks arise.
- Emergency Recall: Train an emergency recall command, a unique signal that your hawk knows means to return immediately, regardless of the situation.
Step 6: Regular Practice and Evaluation
- Consistent Training Sessions: Maintain regular training sessions to keep your hawk’s skills sharp and their recall response reliable.
- Assess Progress: Continuously evaluate your hawk’s response to commands and adjust training as needed to address any areas requiring improvement.
- Maintain the Bond: Keep reinforcing your bond through daily interaction, gentle handling, and positive reinforcement.
By diligently following these steps, you will successfully train your red-tailed hawk for free flight, ensuring a safe and enriching experience for both you and your magnificent bird of prey. Remember to always prioritize your hawk’s safety and well-being while striving for a harmonious partnership.
Equipment Needed for free flight training
- Jesses: These are leather straps attached to the hawk’s legs, allowing for control during flight.
- Glove: A thick leather glove used to hold the hawk in your hand. It should fit comfortably and securely.
- Whistle: This serves as a recall signal for the hawk during flight exercises.
- Lures: A piece of meat or feather attached to a line, used to lure the hawk back to you during training.
- GPS tracker: A small device that can be attached to the hawk’s jesses. It enables you to track your bird’s location and retrieve them if they fly too far.
- Creance Line: A long, lightweight cord used for initial flight training.
- Perches and Trees: For rest breaks during training sessions.
- First Aid Kit: In case of any accidents or injuries.
Free flight training for your red-tailed hawk can be a rewarding and exhilarating experience for both you and your feathered friend. By following the steps outlined and investing in the necessary equipment, you can build a strong bond with your hawk and watch them soar freely through the skies. With patience, dedication, and a love for these majestic birds, free flight training can bring a whole new level of excitement to your falconry journey.