
From my experience, the best thing to focus on during rearing and incubation is providing a natural nesting environment, monitoring health, and delivering proper care. Start by choosing the correct incubator with precise temperature and humidity control. Turn eggs daily for best results. Now that you have an idea of how this is done let’s go further into these points and cover other fundamental topics regarding the rearing of chicks.
Step-by-Step Guide on Rearing and Incubation of Red-Tailed Hawks Chicks
Step 1: Setting Up the Incubation Environment
- Begin by selecting a high-quality incubator that can maintain a consistent temperature of 98-99 degrees Fahrenheit with a relative humidity of 55-60%. This mimics the natural conditions under which red-tailed hawk eggs are incubated.
- Ensure the incubator is placed in an area free from drafts and direct sunlight to prevent temperature fluctuations.
Step 2: Egg Handling and Placement
- Before placing the eggs in the incubator, mark each egg with a pencil to help monitor turning.
- Carefully place the eggs in the incubator, using the marks as guides to turn the eggs three to five times a day. This prevents the embryo from sticking to the shell and promotes healthy development.
Step 3: Monitoring Incubation Progress
- Use a reliable thermometer and hygrometer to check the temperature and humidity levels regularly. Adjustments should be made according to the readings to ensure optimal incubation conditions.
- Candle the eggs periodically after the first week to monitor embryo development and remove any that are not viable to prevent contamination.
Step 4: Preparing for Hatch
- Increase humidity to 65% several days before the expected hatch date to help the chicks break through the shell.
- Create a hatching area within the incubator by lining it with a soft, textured material to help the chicks gain footing once hatched.
Step 5: Caring for the Newborn Chicks
- Once hatched, the chicks should remain in the incubator for 12-24 hours or until they are fully dry and active.
- Prepare a brooding area with a heat lamp to maintain a temperature of 95°F, reducing it by 5° each week as the chicks grow.
- Feed the chicks a specially formulated diet that replicates their natural diet, starting with soft, easily digestible food.
Step 6: Health Monitoring and Socialization
- Keep a close eye on each chick’s health, looking out for signs of distress or illness. Early intervention is vital to addressing any health issues.
- Socialization is crucial for developing healthy behaviors. Handle the chicks gently and regularly to accustom them to human interaction, preparing them for future training and rehabilitation.
This structured approach to incubating and rearing red-tailed hawks’ chicks ensures the best start to their life, simulating natural conditions as closely as possible while providing the care and intervention necessary for their survival and development.
Choosing the Right Incubator
The type of incubator you choose will have a significant impact on the success of your hatch. There are various types available, such as still air or forced air models, with different features and capacities. It is essential to do thorough research and invest in a high-quality incubator that meets the specific needs of red-tailed hawk eggs.
Egg Collection and Handling
Meticulous care and attention to detail are crucial in preparing for egg collection and handling in rearing red-tailed hawks. When collecting eggs, it is essential to ensure they are not excessively jostled to prevent damage. Proper egg-turning techniques are vital to prevent the embryo from sticking to the shell membrane. Maintaining the right temperature is key for embryo development, with optimal levels ranging between 99.5-100 degrees Fahrenheit. Humidity control is also critical, typically between 45-50% relative humidity in the incubation environment. Candling the eggs helps monitor embryo growth and detect any issues early on. Below is a table summarizing key considerations for egg collection and handling:

| Consideration | Description |
| Egg turning techniques | Prevent embryo sticking to shell membrane |
| Temperature regulation | Maintain 99.5-100°F for embryo development |
| Humidity control | Keep 45-50% relative humidity |
| Candling process | Monitor embryo growth and detect issues |
Incubation Period and Egg Management
During the incubation period and egg management process, maintaining consistent temperature and humidity levels is crucial for the successful development of red-tailed hawk embryos. Temperature regulation is key, as the eggs should be kept at around 99.5 degrees Fahrenheit. Fluctuations can be detrimental, potentially leading to embryo death. Humidity levels are also vital, with an ideal 40-50% range. This prevents the eggs from drying out, aiding in proper development.
Following a turning schedule is essential to prevent the embryo from sticking to the shell membrane. Eggs should be turned at least three times a day, ensuring even heat distribution and proper growth. Candling the eggs around days 5-7 helps monitor progress and detect any issues such as unfertilized or damaged eggs.
Signs of hatching include the embryos making small holes in the eggshells, known as pips, followed by chirping sounds. At this point, it’s crucial to monitor closely, as hatching can be strenuous for the chicks.
Feeding and Nutritional Needs
Maintaining proper nutrition is fundamental for the growth and development of young red-tailed hawks. Their dietary requirements vary at different growth stages, necessitating a feeding schedule that ensures nutritional balance. Meal preparation is crucial to meeting these needs.
Red-tailed hawks go through distinct growth stages, each demanding specific nutrients for optimal development. Providing a diverse diet rich in proteins, vitamins, and minerals is essential. Young hawks need frequent feedings throughout the day to support their rapid growth. As they mature, the feeding schedule can be adjusted to fewer but larger meals.
Achieving nutritional balance is key to preventing deficiencies that can hinder growth. Monitoring their food intake and adjusting as needed is vital. Meal preparation involves offering a variety of fresh meats, such as mice, rats, and chicks, to ensure they receive all the necessary nutrients for healthy development. By carefully attending to their dietary needs, we can support the red-tailed hawks’ growth into strong and resilient birds of prey.
Developmental Milestones to Monitor
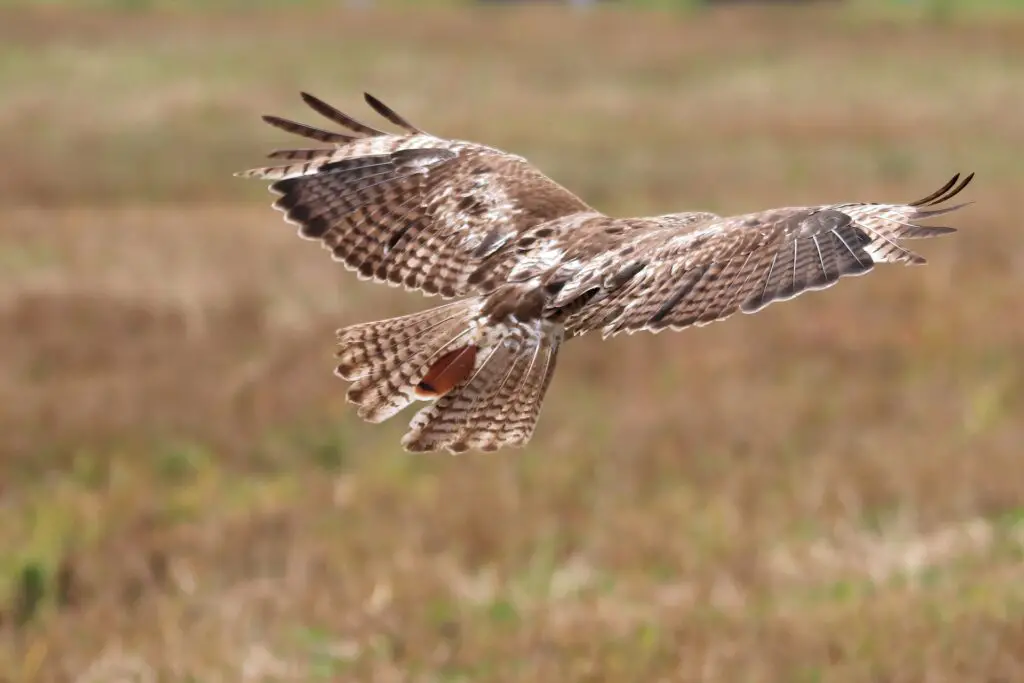
Growth markers such as weight gain and wing feather development are key indicators of their progress. Regularly weighing the chicks and tracking their wing growth can help ensure they are developing as expected. Behavioral changes, like increased activity levels and interactions with their environment, are also important signs of healthy development. Monitoring their physical development involves checking for proper muscle tone, feather condition, and overall body condition.
Conducting regular health checks, including examining their eyes, beaks, and talons, is crucial to detect any potential issues early on. Additionally, observing their social interactions within the brood can provide insights into their social skills and hierarchy establishment.
In conclusion, rearing and incubating red-tailed hawk chicks requires careful attention to detail and dedication. From selecting the right incubator to monitoring developmental milestones, every step plays a crucial role in ensuring the health and success of the young hawks. Following proper techniques and providing the necessary care and nutrition can help the chicks grow and thrive until they are ready for fledging and falconry.